01Getting AI out of the chat boxes
Computers started with the command line. Then came graphical interfaces, things you could actually point at, and suddenly everyone could use a computer.
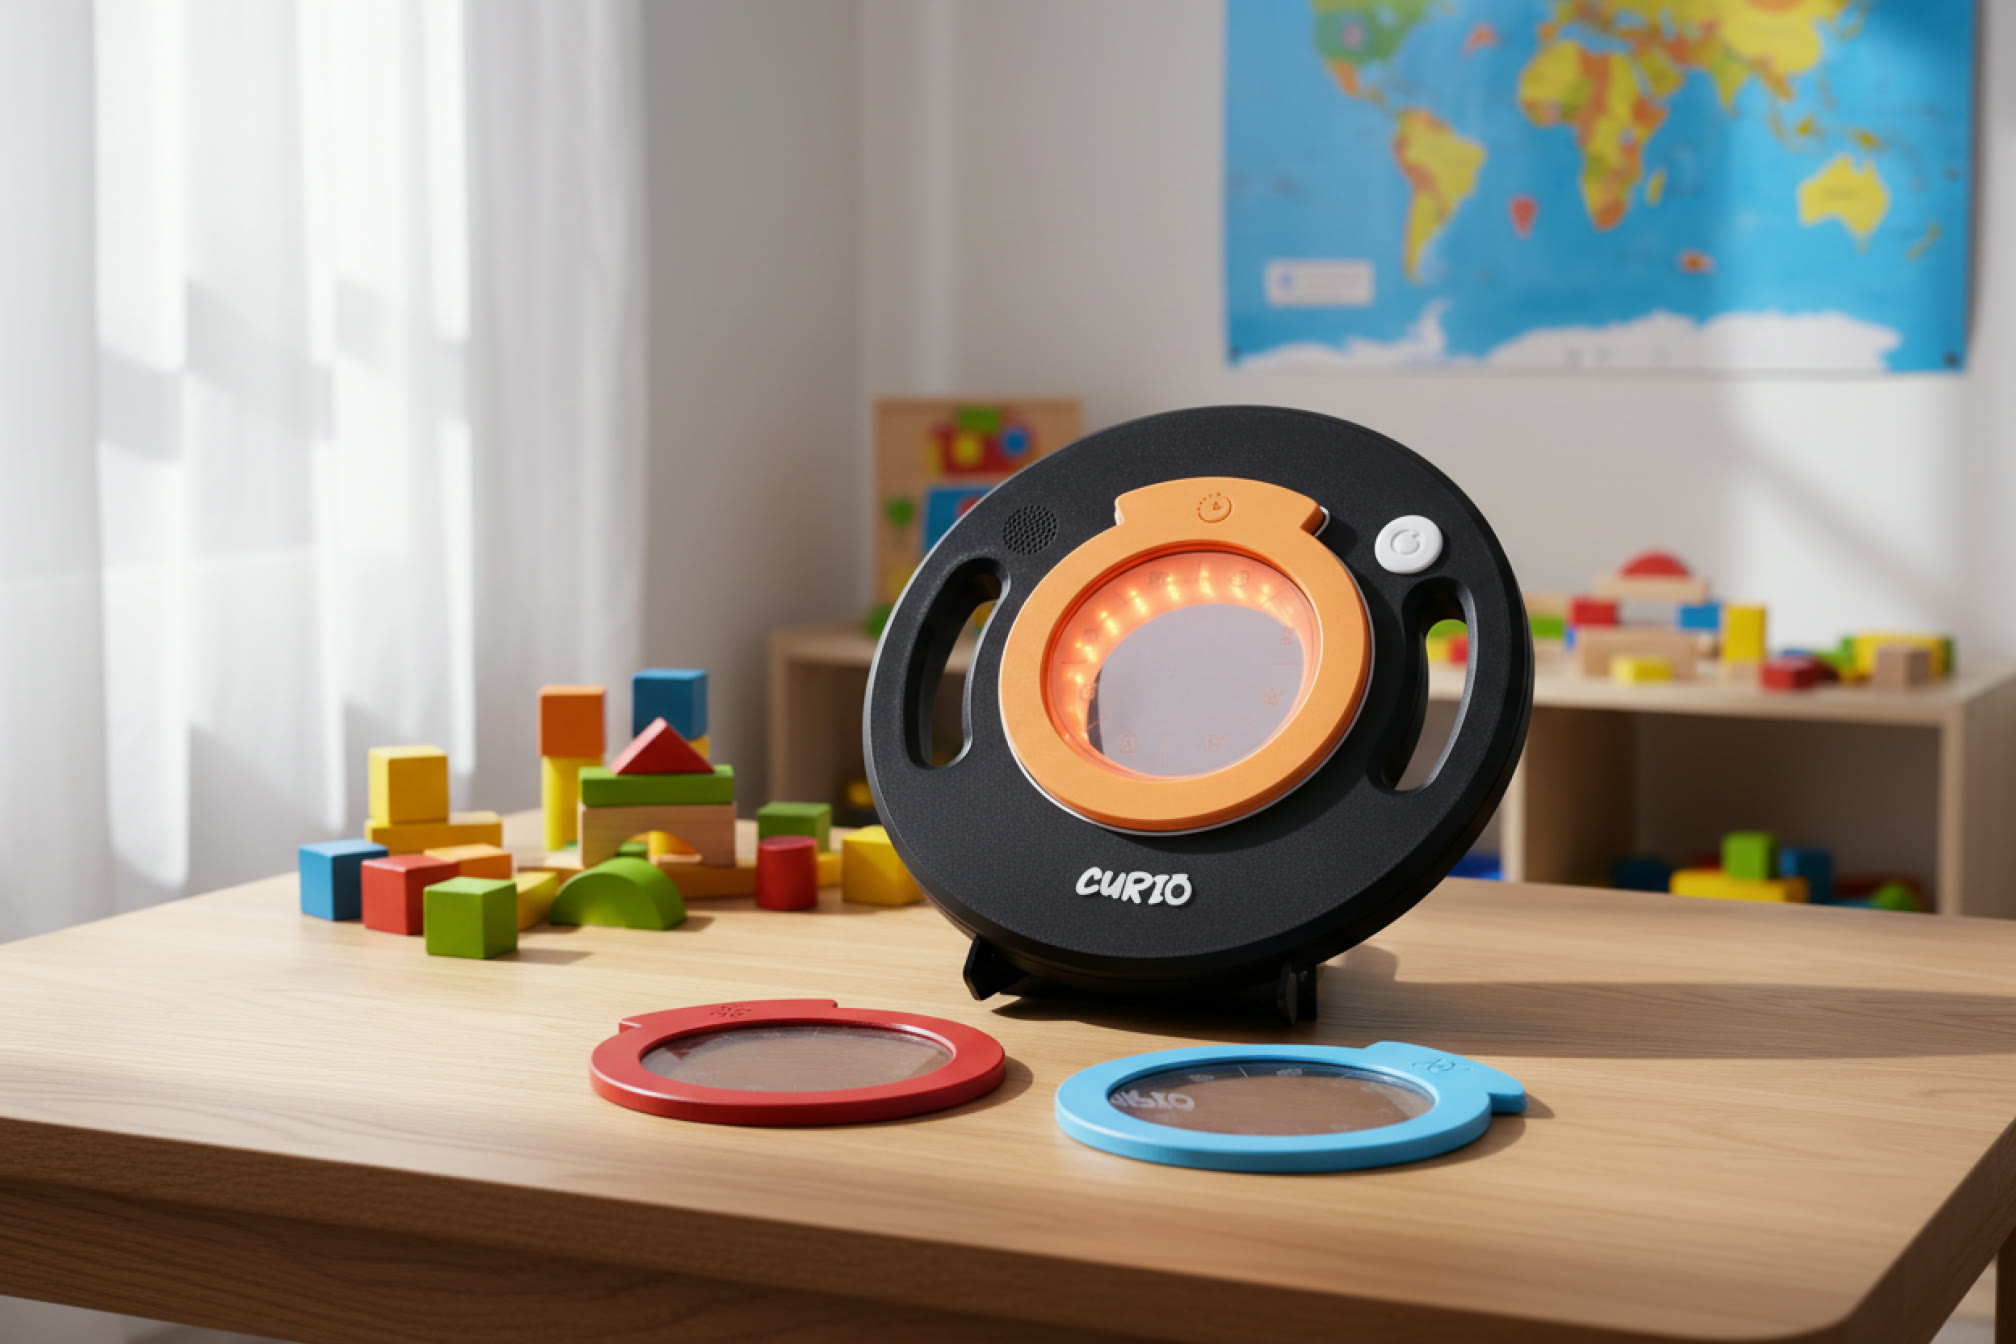
And now AI has taken us right back to typing (into a chat box, this time). In real life we explore by picking things up and looking closer. Curio is our try at something more, a way to physically change system prompts, used for exploratory learning.
What is the next interface for AI, out in the physical world?
02A magnifying glass to explore with
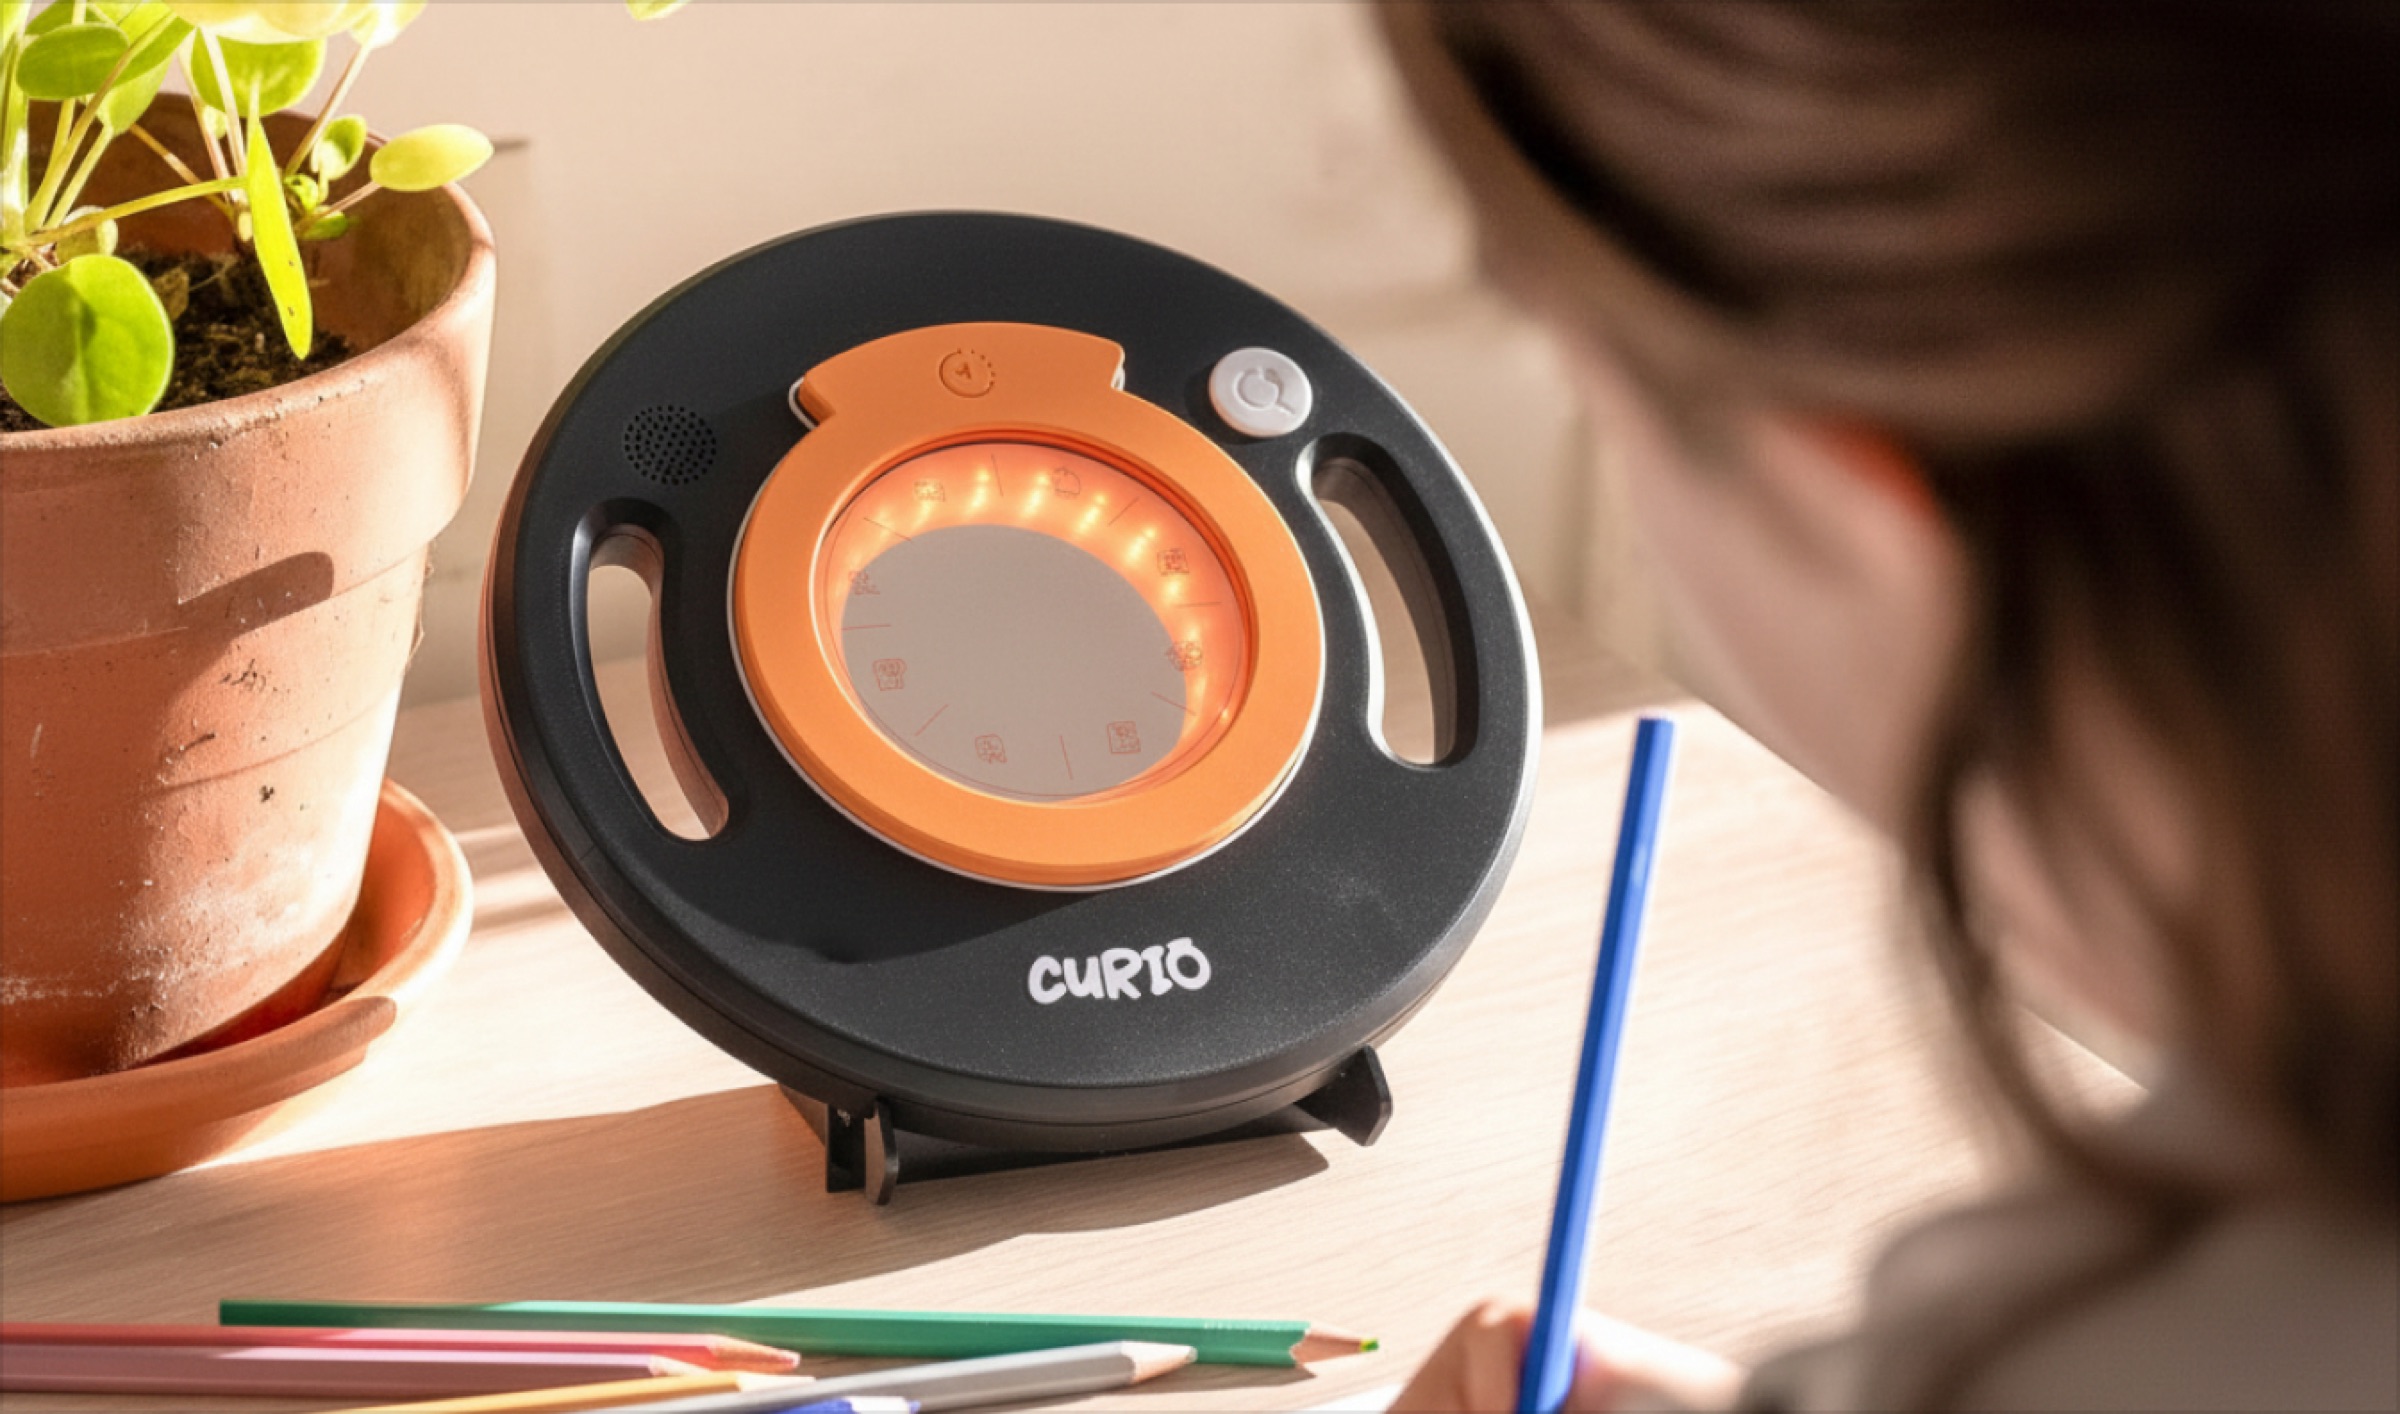
We used the metaphor of a magnifying glass, the thing a kid grabs when they want to look closer and see what is not visible at first glance. Then we gave it three magnetic lenses, History, Science and Culture, so things can be seen in different ways.
03How Curio knows what to say
When a child points Curio at something (say an apple) and presses a button, a request is sent through an automation to find three facts and return them through voice.
03.1A sum of its parts
There aren’t too many parts. The Arduino Uno Q does the processing and controls the lights for feedback, the button for the trigger and the speaker for audio output. The final prototype looks big because it uses all off-the-shelf components.
How it knows which lens is on
Each lens carries its own resistor, so it gives the Arduino its own voltage when it snaps on. That voltage tells Curio which lens is on and which colour to light. We tried magnets and two Hall-effect sensors first, but the resistors turned out to be the simplest solution.
04Swap, press, listen
The interactions had to be simple enough for children to understand, while having a satisfaction and playfulness to it.
Swap
Snap a lens on, Science, History or Culture. They’re held on by magnets, so a kid feels each one click into place, with no menu and no wrong way round.
Press
One button. Curio looks at whatever sits in the middle of the glass; the system prompt asks it to isolate the one object in the middle of the scene.
Listen
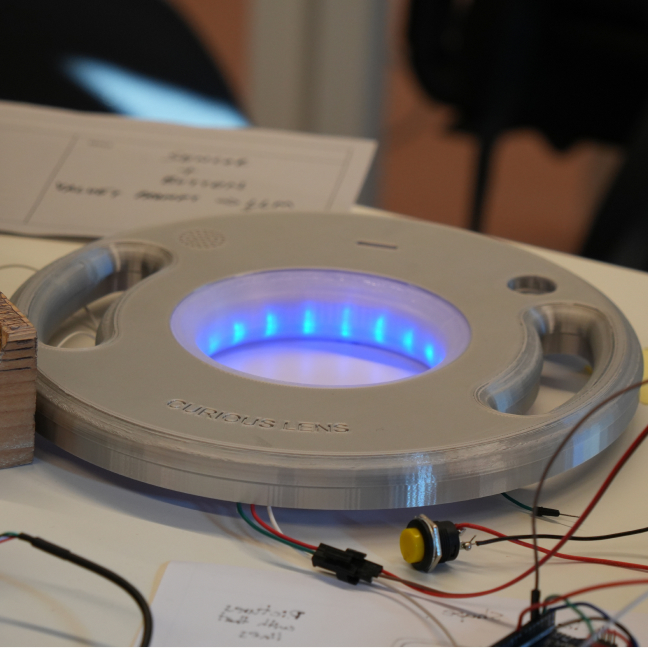
There’s no screen, so Curio’s light and sound interactions are important. The ring glows while it thinks, then the speaker reads out three facts, in voices we made with ElevenLabs, suitable for the age group.
05Prototypes as questions
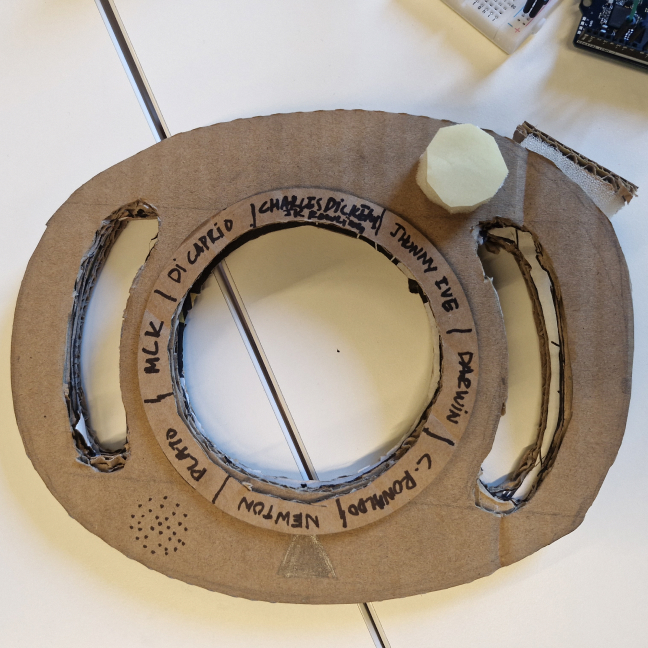
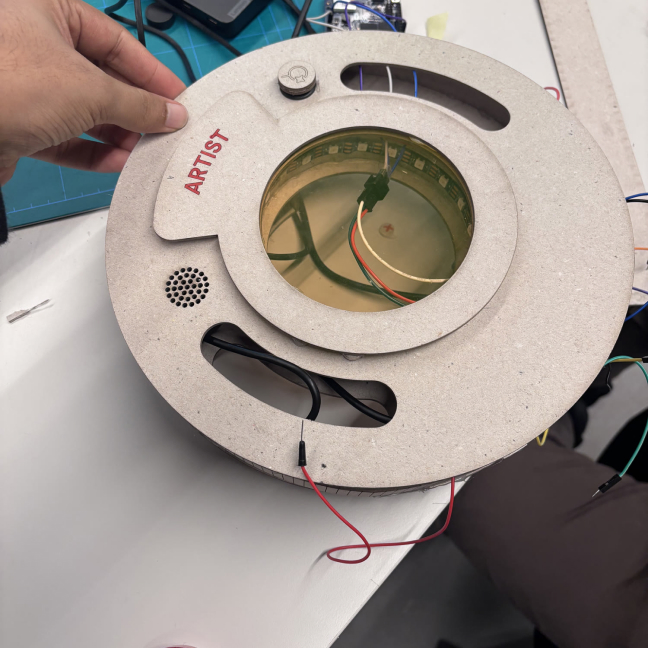
In two weeks we went from a cardboard mock-up we made in an hour to a device that actually worked.
Every prototype was there to answer a question about the interaction.
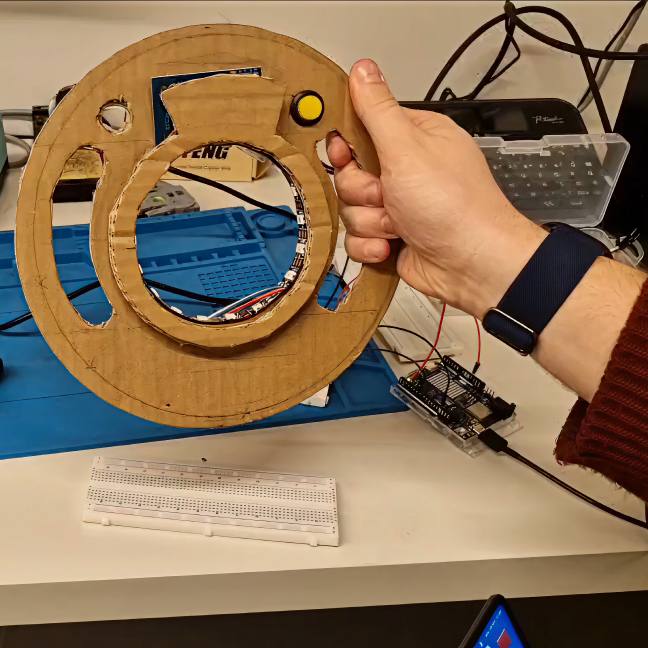
What we asked
- 01
How many buttons? One. Early builds had two (one to identify, one to ask again), but testing showed one was more than enough.
- 02
How should lenses change? A magnetic snap. Quick to swap, satisfying, and more modular than a selection wheel.
- 03
What feedback, and when? Light and sound for feedback, so a child knows it’s working.
Along the way we tried a lot of light and sound combinations, for spotting the lens, taking the photo, thinking and playing the answer.
06Watching children use it
The best moment was watching children pick Curio up, swap lenses and point it at things. It seemed very natural for them to be able to take a device around and use it to explore the world. The parents we spoke to also really liked how Curio was a screenless way for children to learn about things in their everyday life.
Supermoderno and Arduino later featured Curio on their YouTube channel.
Watch the feature07What worked, what’s next
Two weeks is short. Here’s what I’d design for next.
- 01
Trust and safety. Children believe what Curio tells them, and while ideally things shouldn’t go wrong, there is a need to design for parents as humans in the loop to ensure the kids are not learning incorrect or biased information.
- 02
Bigger scenes. What if a child wants to know about a place, or a specific landscape?
My biggest takeaway was how much faster we learnt about the product by making it, one rough prototype after another. I also learnt that it is always harder than it looks. So reduce first, get the basic version working, then build on it, rather than planning too many things at once.